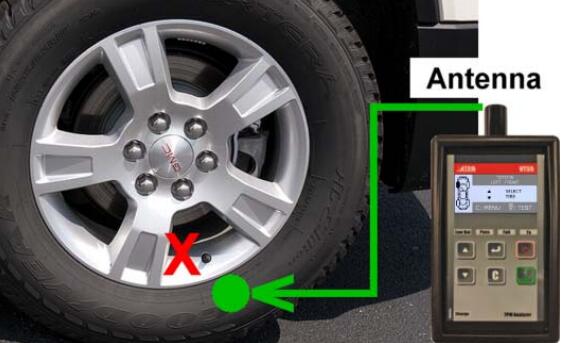
1. Testing a TPM Sensor ATEQ VT55 OBDII TPMS
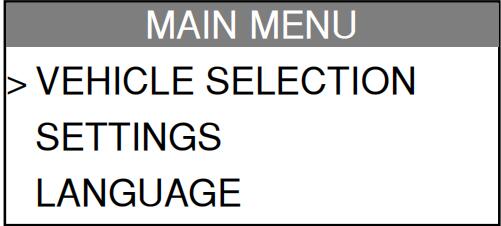
Step 1 – Select the “VEHICLE SELECTION” menu and confirm selection with the  key.
key.
Step 2 – Select the vehicle brand on the screen by using the  keys and confirm selection with the
  key.
key.
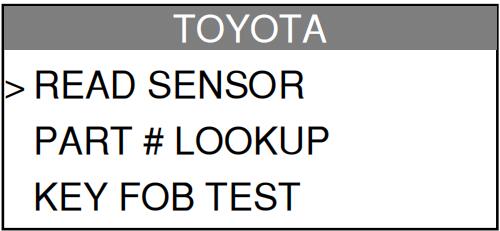
Step 3 – Select the “READ SENSOR” menu on the screen by using the  or
or  keys and confirm selection with the
  key.
key.
Step 4 – Select the vehicle model by using the  or
or  keys and confirm each selection with the
  key.
key.
Step 4 – Select the year and the number of wheels by using the  or
or  keys and confirm each selection with the
  key.
key.
Step 5 – Hold the tool within a few inches from the TPM sensor. ALWAYS position the antenna on the tire sidewall. NOT over the valve stem
Some sensors are banded to the wheel and can be located 180⁰ opposite the valve stem. (Refer to owners manual).
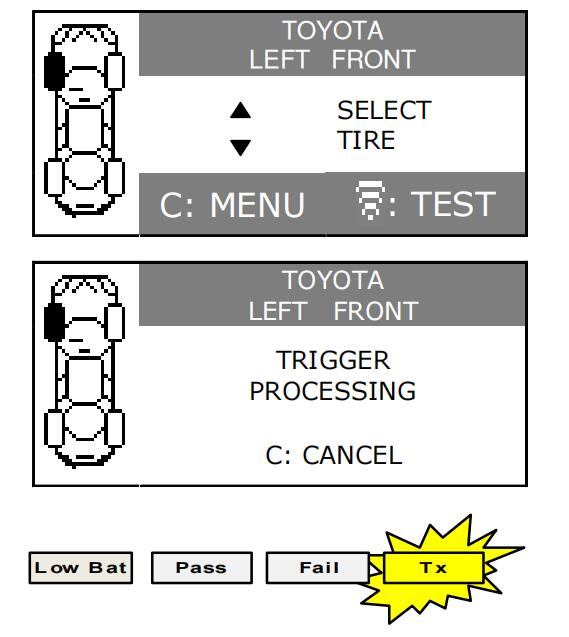
Step 6 – Press the  key. The tool will begin to send LF trigger and the TX light will flash. Depending on the sensor, the tool will activate the sensor on the first or last step. Each step identifies the number of valve types used on the vehicle brand.
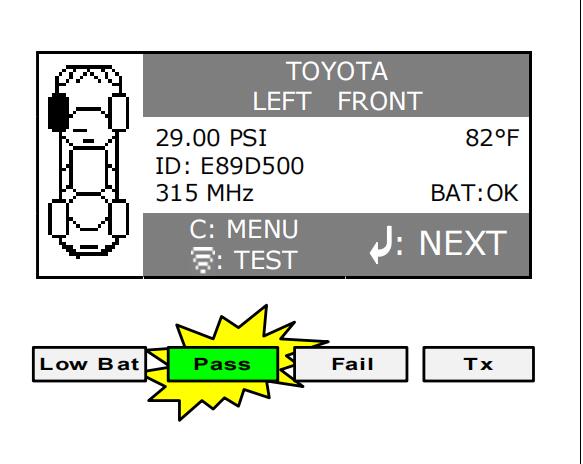
Step 7 – The tool will vibrate/beep after receiving the sensor information. The tool will display the sensor ID, pressure and sensor state of the valve that is triggered. If the tool does not receive the correct information, the fail LED will illuminate and you can restart the trigger sequence by pressing the key  again.
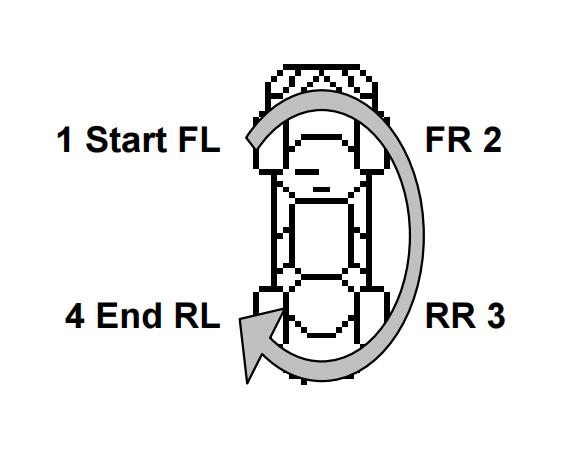
Step 8- Follow the same procedure for the rest of the three or four wheels by pressing the  key and then
  key. Keep the order in clockwise rotation. (Refer to vehicle owners manual or other reference guides for TPM reset procedure).again.
2 – Results Description
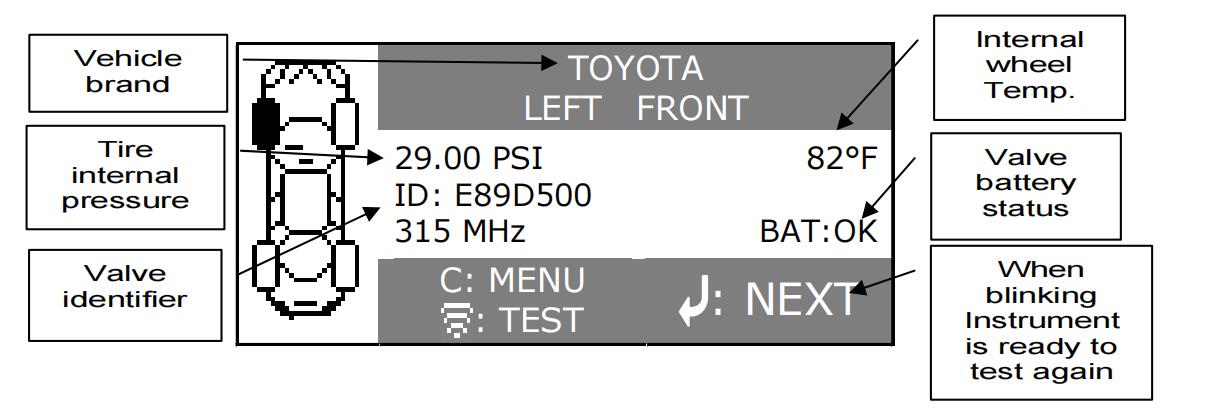
The picture below is an example of a valve data communication result:
Note: The VT55 will identify the sensor information that is transmitted. Not all sensors transmit every piece of information shown.



Leave a Reply