
Modern automobiles come equipped with an On-board Diagnostics system. OBD-II is an advanced management system that professionals and home mechanics can connect to via the diagnostic port. You can also use a computer or laptop instead of a handheld scanner, however, you will need a kit. Most laptop diagnostic software is more advanced than handheld scanners, offering the ability to monitor engine performance, as well as read trouble codes.
Step 1
Purchase a laptop OBD-II interface kit. You can purchase these kits at many automotive parts stores; in addition, they are available online.
Step 2
Insert the software installation disc. Follow the prompts to complete the installation. If the installation does not automatically begin, access “My Computer” and double-click on the disc to start.
Step 3
Connect the components to your laptop. Most kits contain a USB to serial adapter for laptops without serial ports. Once the device is attached to the laptop, connect the OBD-II diagnostic port cable.
Step 4
Start the software program. Double-click on the desktop icon if the program did not automatically start. Get comfortable with the control interface.
Step 5
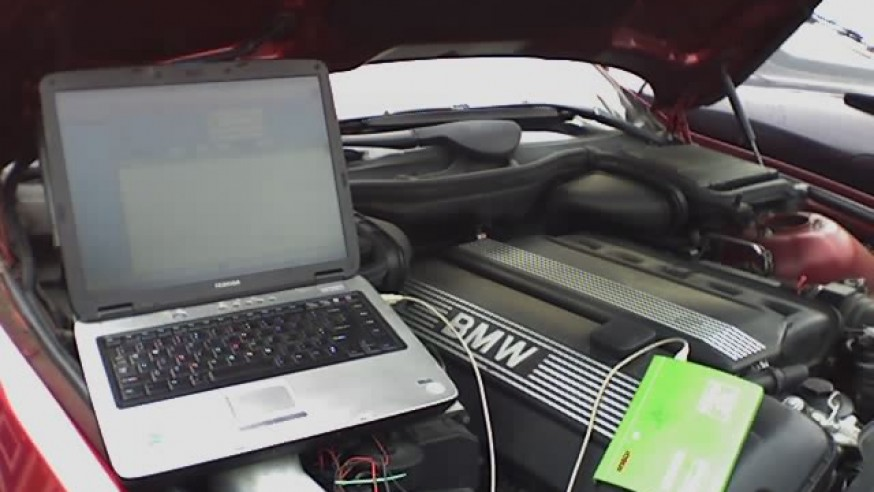
Bring your laptop to your vehicle. Turn the ignition key to the “On” position, but do not crank the engine. Connect the Car Diagnostic Tool scan cable from the laptop to the diagnostic port on your vehicle, usually located in the driver’s side foot well, below the steering well.
Click the “Scan” button on the control interface, if required. View the engine codes and diagnostic information provided by the program.
Leave a Reply