
This chapter provides instructions for installing the John Deere Electronic Data Link v3 (EDL3) drivers and utilities, connecting the EDL3 to a vehicle, connecting to a wireless network, and testing the connection. It also provides information on using the EDL3 Explorer utility.
Step 1: Install the EDL3 drivers
Note:If you have previously installed John Deere Service ADVISOR™ software, the EDL3 drivers are already installed on your laptop or PC. If this is the case, skip this section and proceed to Step 2.
If you are planning to use the EDL3 without Service ADVISOR™ software, or if you need to update the EDL3 drivers that came with Service ADVISOR™, you will need to install drivers supplied separately
Note:EDL3 drivers may be supplied via download, disk, or USB flash drive.
Remember, you must have Administrator security rights and be logged in as “Admin” to successfully complete the installation process outlined in this manual.
To install the drivers on your laptop or PC:
1. Do one of the following:
—Either download the drivers to your hard disk (following instructions supplied separately).or
—Insert either the disk or the USB flash drive containing the drivers into your PC or laptop.
2. Locate and run the following file: EDL3_setup.exe
The Welcome to EDL3 Setup screen is displayed
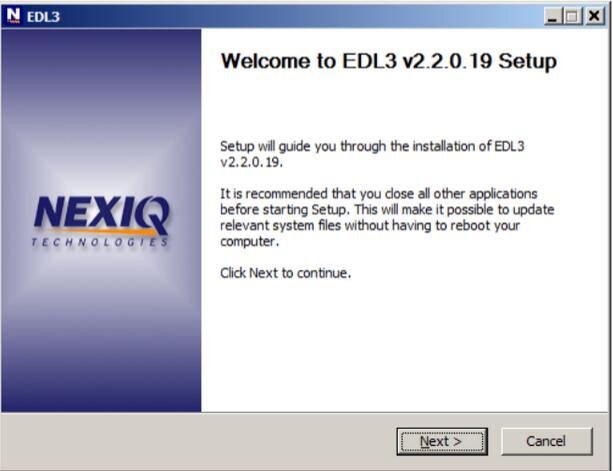
3. Carefully read the information displayed on the screen, and follow the recommendations.
4. Click Next
The License Agreement screen is displayed.
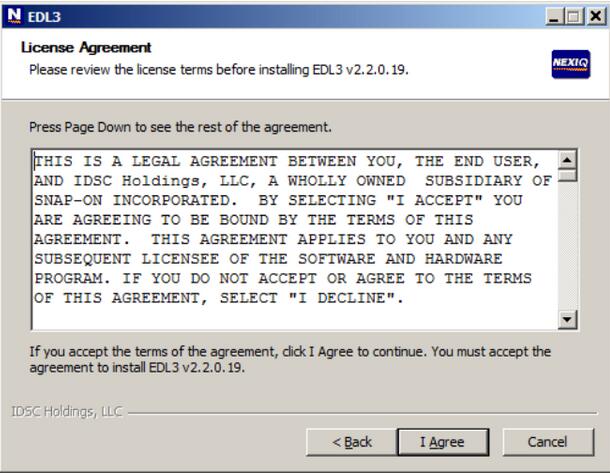
5. Read all the information on this screen, then click I Agree
Note:If you do not agree to the terms, click Cancel. A message is displayed prompting you to confirm quitting Heavy truck scanner EDL3 Setup. Click Yes to quit.
The following warning message is displayed.
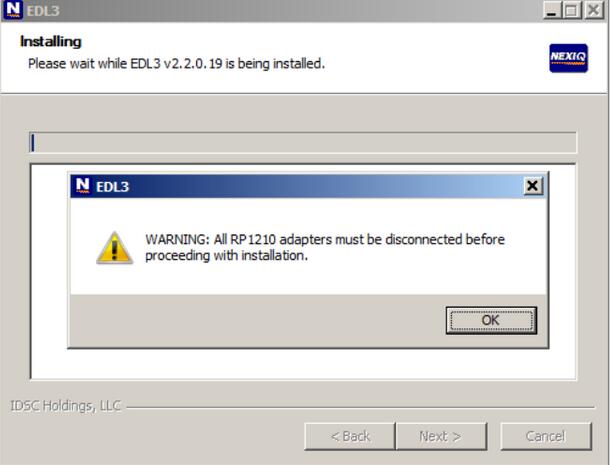
6. Carefully read the warning message, and disconnect all RP1210 adapters to which your laptop or PC might be connected prior to proceeding with the installation.
7. Once you have complied with the requirements of the warning message, click OK
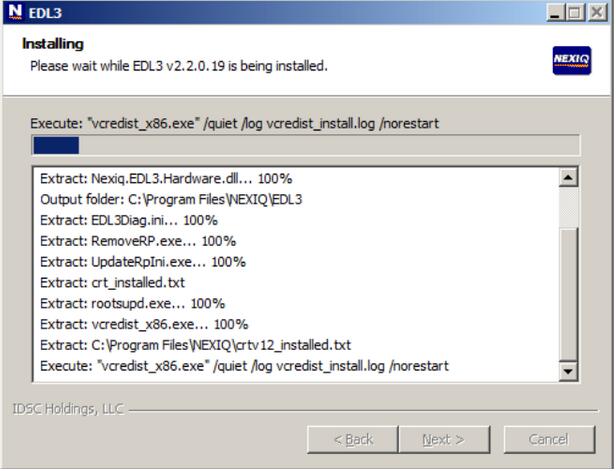
The installation begins and the following screen is displayed.
If you are running Windows® 7 or Windows® 8, the following Windows Security dialog may be displayed.
Note:You may want to place a check mark in the Always trust software from “Jungo LTD” check box. If you leave it unchecked, this dialog may be displayed more than once
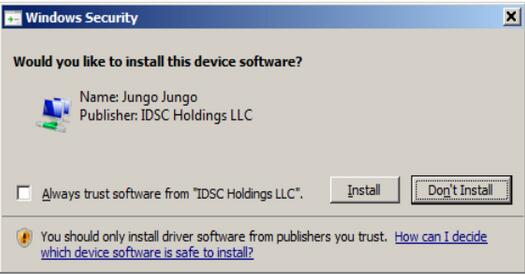
Note:You may want to place a check mark in the Always trust software from “Jungo LTD” check box. If you leave it unchecked, this dialog may be dis-played more than once.
8. Click Install to continue.
9. Wait briefly while the installation continues
The following completion screen is displayed
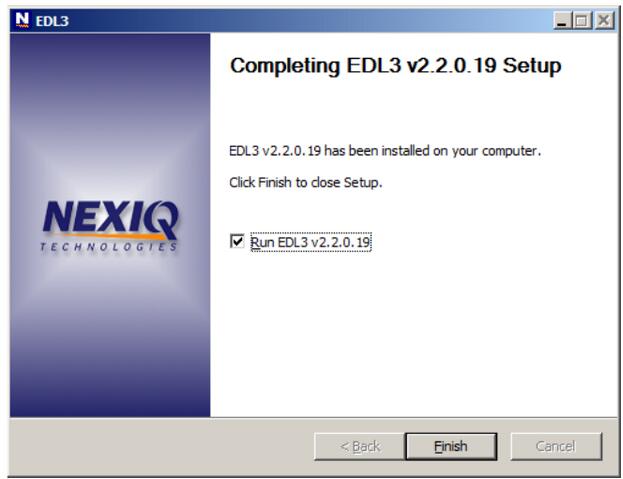
10. Click Finish
The EDL3 Explorer utility opens
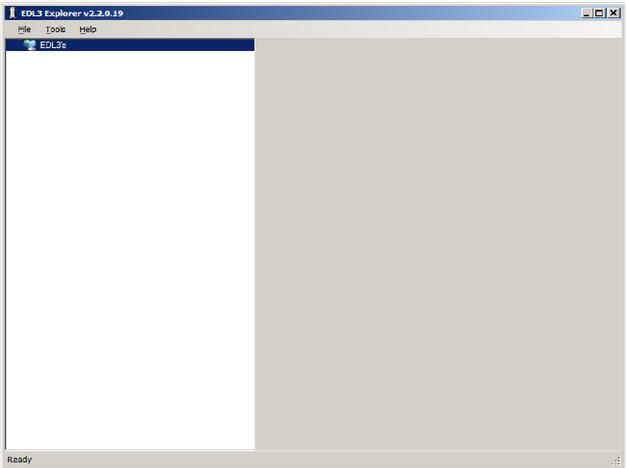
Note:For information on using the EDL3 Explorer, see Using the EDL3 Explorer Utility on page 43 of this manual.
11. Move on to Step 2: Connect the Heavy Duty Truck diagnostic Scanner EDL3 to a Vehicle, next in this manual
Leave a Reply